Hi guys, I've been gone for quite some time (again) (I know) but this time I had a good reason. I've been participating in my first ever swap!! The swap was over at
Crafter's Digital Art Center and Priscilla worked really hard in finding me a partner from South Africa! Let me tell you, its awesome and terrible at the same time!!! I was forever agonizing about my album, did I do it neat enough, will she like the colors, what else should I put in, what if she does not like it and so the list continues. I guess I just wanted to give someone something that I wouldn't mind getting myself?
Here is the cover. The names on the front, is the names of my swap partners two boys.
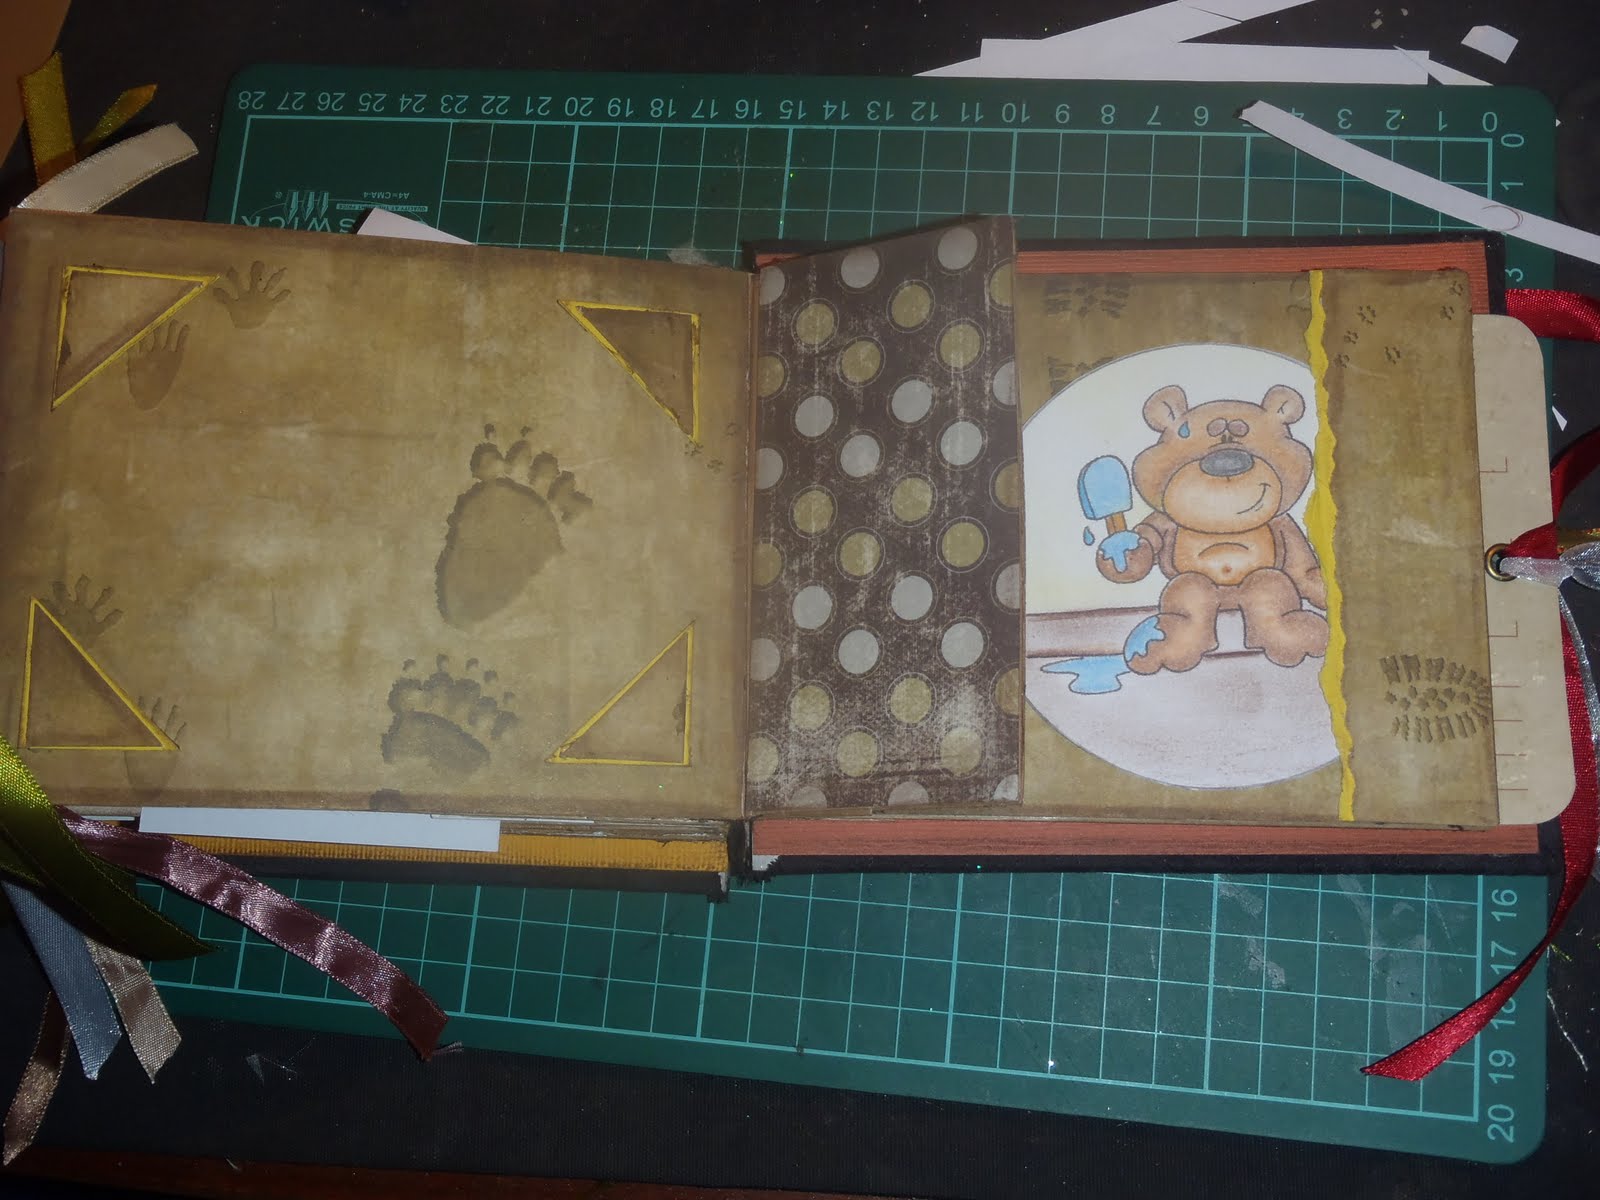
The first page as you open the album. All the little flaps are for tags or photos.
The album was made for my partner, to put photos and journaling in of her boys. All the digi's used throughout the album are from
Dustin Pike. I've colored some of the digi's, but left some for Olga to color herself (or maybe the boys would like to color them).
The next two pages
Then the next two, my son helped with the little envelope.
The next two pages are my favorite. They are very plain but it gives the Olga lots of space to do her own thing!
The next two pages, with space for photos.
Last page - my kids love this digi. Written on the pot under the bunny is : Black Jelly Beans. LOL
Inside every bag is a tag. I just tied ribbon to them. This is the view from the side.
The two ladies at the post office liked my album and even asked if I sell them (a big NO) so I really hope that Olga and her boys will love the album and hopefully be able to use it.